Most people give up on an expense tracker in week two. Not because the app is hard, but because they tried to do everything on day one: forty categories, budgets for all of them, three years of history, and a plan to save 40% of their salary.
This is the opposite of that. Four weeks, one job per week, nothing that takes more than twenty minutes.
Key takeaways
- Week 1: set up the basics and log every expense the same day. Nothing else.
- Week 2: read your first week of real data and set budgets on three categories.
- Week 3: automate the repeating stuff with recurring transactions and the Monthly Checklist.
- Week 4: review with Stats, Trend and Insights, ask Jivixa one question, change one thing.
- One job per week. Doing this slowly is why it sticks.
Before day 1: forty minutes of setup
Get this out of the way in one sitting, ideally on a Sunday.
Install the app and create your account. Open More and then Display and currency and set your currency, your date format, and Indian amount format so figures read as 1,23,456.78. Add the accounts you actually spend from: one bank, cash, a wallet, and each credit card. Then set up ten to fifteen categories and drag your five most-used to the top.
That is the whole foundation. Your first ten minutes walks through each step, and setting up your accounts goes deeper on the account types.
Start on the 1st if you can
Starting on the 1st of a month means your first monthly comparison is a real month rather than nineteen days. If today is the 12th, do the setup now, log properly from today, and treat the following month as month one.
Week 1: log everything, judge nothing
One job this week. Every expense goes into the app on the day it happens.
The chai. The auto. The ₹40 parking. The impulse purchase you already regret. All of it, especially the small stuff, because small stuff is where the leak is.
How to make it stick
Log it at the moment of paying, while the amount is still on the screen in front of you. Four taps: amount, category, account, save.
Use the calculator icon inside the amount field when you buy several things at once, so 240 plus 85 plus 1,200 becomes one entry without you doing mental arithmetic in a queue.
Add the home screen widget so today's total is always visible and adding is one tap. Turn on Daily reminder from More and then Settings so the evening nudge catches whatever slipped.
Do not start budgeting this week
It is very tempting to set limits on day two. Resist it. You do not yet know what you actually spend, so every number you pick would be a guess, and missing a made-up target for five days straight is how people quit.
If you have older data
Once, this week, import last month's statement. Go to More and then Transactions, tap the AI import icon, and upload a PDF or CSV from your netbanking. Review every row before tapping Add. Importing with AI covers the flow, including why the review screen matters.
That gives you a month of history to compare against without typing any of it.
Week 2: read the data, then set three budgets
You now have seven days of real spending. Time to look.
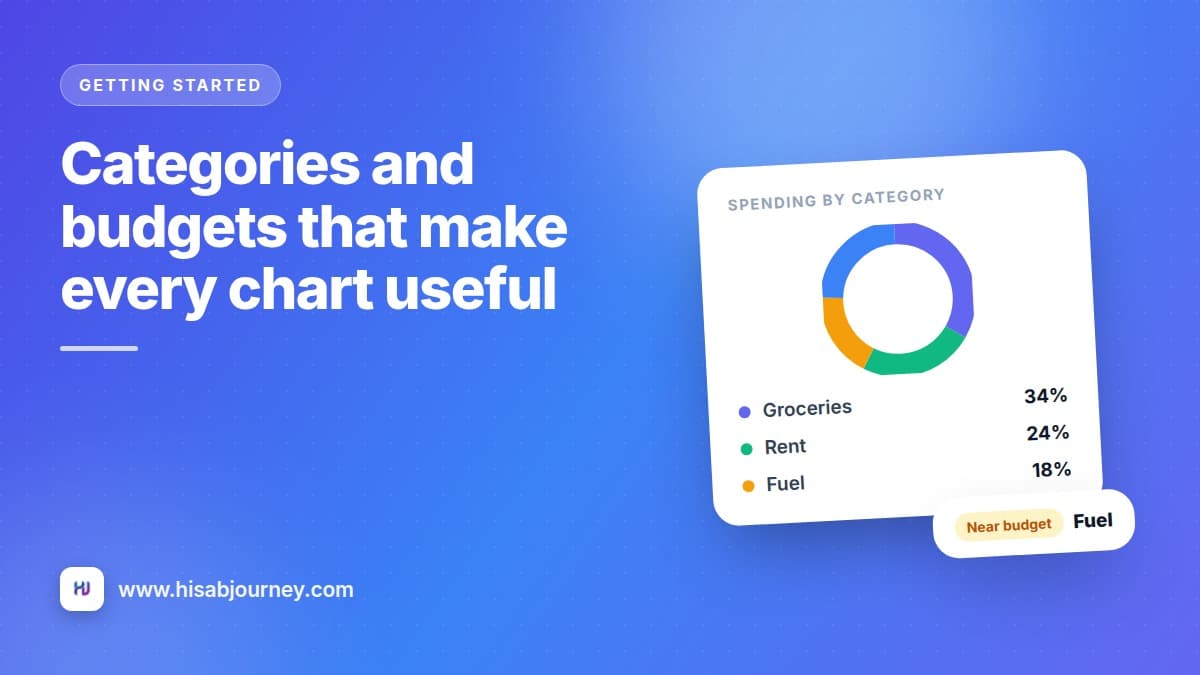
- Open Stats and set the period to this week Read the donut. Which three categories are biggest? Most people are surprised by exactly one of them.
- Tap your biggest category You get a chart for that category plus the transactions behind it. Read them. Would you spend that money the same way again?
- Pick three categories to budget Choose the ones you can actually control. Groceries, Eating out, Shopping. Not Rent, not EMI.
- Set the numbers Take what you spent last month in each, cut it by five or ten percent, and use that. A budget you miss by a little is feedback. A budget you miss by half is noise.
- Keep logging Week one's habit does not stop. Everything from here is built on top of it.
Once a category has a budget, the app can put a budget alert card on your home screen as you approach the limit, and HJ Insights starts telling you when something is near or over budget. Categories and budgets explains what else changes.
The mid-week check
Around day 10, open the app and look at your budget cards. Not to feel bad, just to see where you are. This is the point of the whole exercise: finding out on the 10th rather than the 30th.
Week 3: automate the boring parts
By now the logging is close to automatic. This week you take the repetitive entries off your plate entirely.
Set up recurring transactions
Go to More and then Recurring and add everything that repeats: rent, EMIs, salary, SIPs, insurance, the gym, streaming services. Choose Weekly, Monthly, Quarterly or Yearly, set the start date, and turn on Subscription / Autopay for anything Netflix shaped.
That subscription tick is not cosmetic. The app totals everything marked as a subscription and warns you in Insights when they take an outsized share of your spending. Recurring transactions covers pausing seasonal items too.
Build your Monthly Checklist
Go to More and then Monthly Checklist. Tap Set income and enter your monthly income, then add every bill you have to pay: electricity, water, broadband, mobile, EMIs, SIPs, school fees, maintenance.
Now look at the three mini stats at the top: Income, Bills and Savings. That savings figure is what your month can actually afford once the obligations are paid, and it is the most useful number on your phone on salary day.
The list clears itself on the 1st of every month, so this is a one-time build. The Monthly Checklist has the full walkthrough.
Write down what people owe you
While you are in an administrative mood, open Receivables and record what you have lent, and Debts for what you owe. Add a due date and turn on a reminder so the app does the following up instead of you. Lent and borrowed covers partial payments and settling.
Lock it
Two minutes: More, Settings, App Lock, choose a 4-digit passcode. App Lock and security explains how to get back in if you forget it.
Week 4: review, ask, change one thing
The last week is the one that decides whether this becomes a habit or a phase you went through.
The month-end review, in ten minutes
Three minutes on Stats. Period set to this month. Read the top three categories. Tap the biggest one and skim the transactions behind it.
Three minutes on Trend. Income against expense. If you imported history, you have several months to compare. Is the gap between the two lines widening or narrowing?
Two minutes on HJ Insights. Read the top three cards only. They are sorted by importance, so the rest can wait until next month.
Two minutes with Jivixa. Ask one real question, such as how much you spent on food this month, or where the money went on your card. Then tap one of the three follow-up suggestions.
Stats, Trend and Insights explained covers which screen answers which question, and Meet Jivixa has ten questions worth asking.
Then change exactly one thing
One. Not five.
Maybe it is the ₹4,800 of food delivery. Maybe it is three streaming subscriptions where one would do. Maybe it is that your budget on Groceries was fantasy and needs to go up while Shopping goes down.
Pick the single change with the biggest number attached and make it for next month. Then leave everything else alone.
Month one is not about saving money
It is about knowing where the money goes. The saving comes in month two and three, almost by itself, because it is genuinely difficult to keep overspending on something once you can see the total.
The month in one table
| Week | Your one job | Time it takes |
|---|---|---|
| Setup | Accounts, categories, currency format | 40 minutes, once |
| Week 1 | Log every expense the same day | About 2 minutes a day |
| Week 2 | Read Stats, set three budgets | 20 minutes, plus daily logging |
| Week 3 | Recurring, checklist, receivables, App Lock | 30 minutes, plus daily logging |
| Week 4 | Ten minute review, change one thing | 10 minutes |
Month two, and the rhythm afterwards
After the first month, the routine settles into something small.
Daily, log as you spend. Two minutes, spread across the day, usually less.
Weekly, glance at your budget cards on the home screen.
Monthly, on the 1st, do the ten minute review, tick through the new month's checklist as bills go out, and check that your account balances still match your bank. Where they do not, use Reset Account Balance.
Quarterly, audit your recurring list and cancel what you no longer use, and export a Ledger statement for your records. The Ledger handles both CSV and PDF.
When you miss a few days
You will. Somebody will get sick, or you will travel, or work will eat a week.
Do not try to reconstruct it from memory. Download the statement, run an AI import for those days, review the rows and add them. Two minutes, and you are current again.
Missing days is normal. Quitting because you missed days is the only real failure mode here.
Questions about the 30-day plan
Frequently asked questions
What if I start in the middle of the month?
Start anyway. Do the setup today, log from today, and treat the next full month as your first proper comparison month. Waiting for the 1st usually means waiting forever.
Do I have to log cash spending too?
Especially cash. It is the money that disappears without a record anywhere else, so create a Cash account and log against it. That is where most people find their leak.
How many budgets should I set?
Three or four, on categories you can actually control. Budgets on rent and EMIs do not help, because you cannot change them this month.
What if my numbers look bad in week four?
That is the point of month one. You are measuring, not scoring. Pick the single largest thing you would change and work on that alone next month.
Can I do all of this offline?
Almost all of it. Logging, accounts, categories, recurring, the checklist, Stats, Trend and the Ledger all work offline. Insights, Ask Jivixa, AI import, and receivable or debt changes need a connection.
What to do next
Today, do the setup. Tomorrow, log everything you spend. That is the entire commitment for week one, and everything else in this plan is built on it.
Come back next Sunday and set your three budgets. In four weeks you will know exactly where your money goes, which is something most people never find out.