You check your bank balance on the 25th and it is lower than you expected. Again. You know roughly where the salary went, rent, EMI, a few Swiggy orders, but not exactly.
This is the budgeting app setup guide that fixes that. Ten minutes today, and from tomorrow every rupee you spend has a home.
Key takeaways
- Do the setup in order: account, currency, your money accounts, categories, then one transaction.
- Set Display and currency before you enter any data, so every amount reads the way you expect.
- Four money accounts cover most people: one bank, cash, a wallet and one credit card.
- Ten to fifteen categories is plenty. Fewer categories make every chart easier to read.
- Your first transaction takes four taps: amount, category, account, save.
What you need before you start
Your phone, five minutes of quiet, and a rough idea of what is sitting in your bank account and your wallet right now. That is it. Hisab Journey never connects to your bank, so there is no netbanking login to hunt for.
Step 1: Install the app and create your account
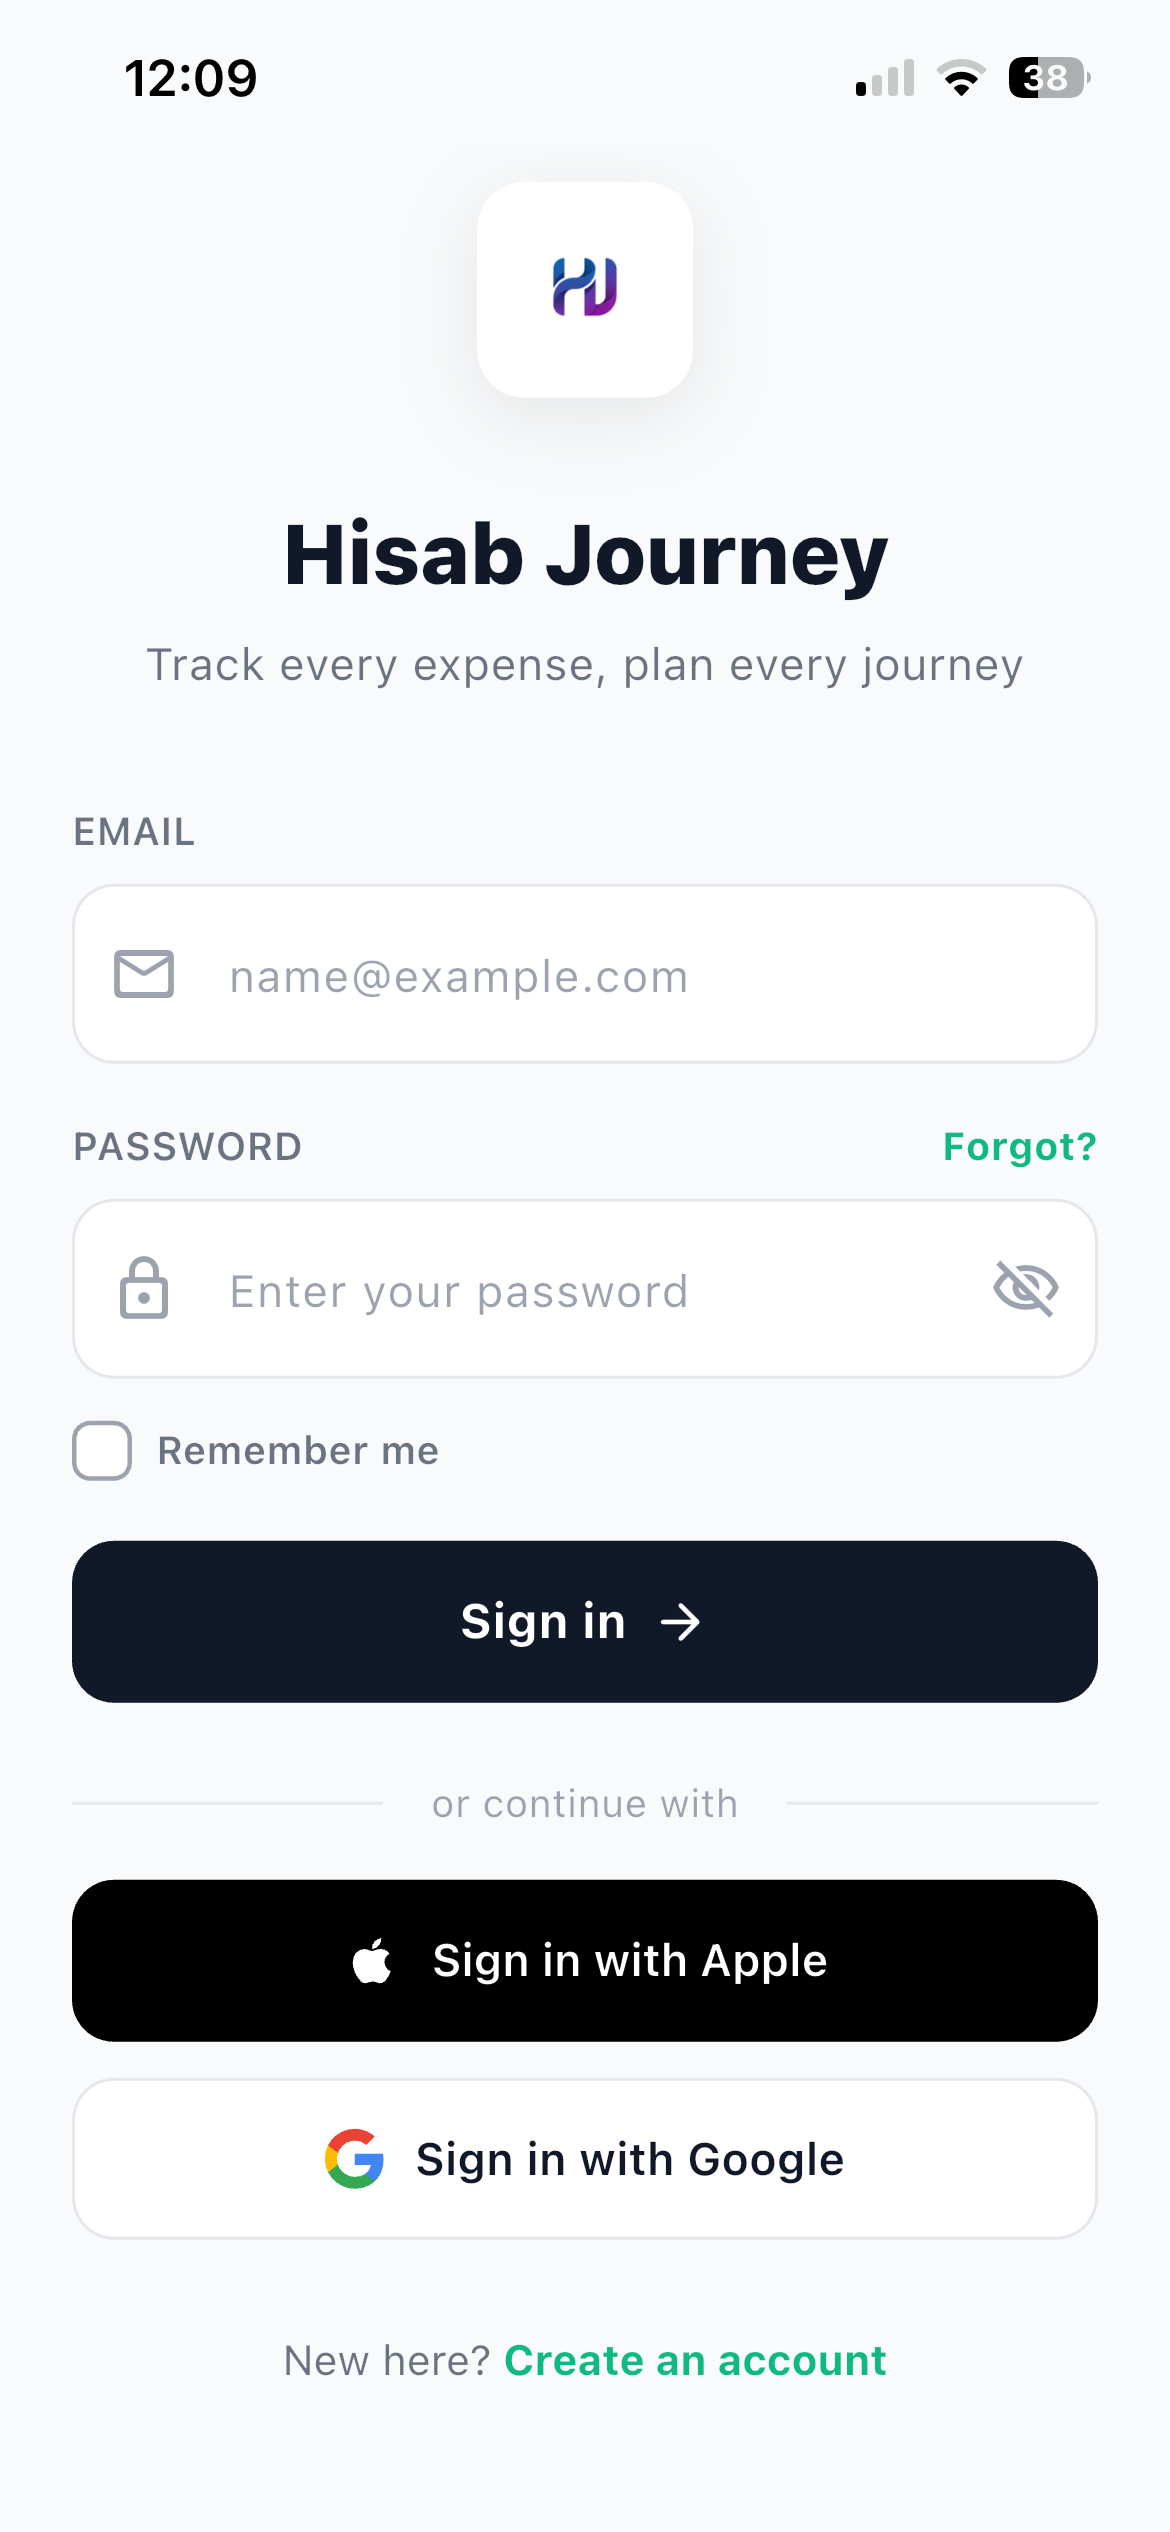
Install Hisab Journey from the Play Store or the App Store and open it. After the splash screen you land on the Sign in screen.
You have three ways in. Pick one and use the same one every time, because they all reach the same account.
- Email and password Tap Create an account at the bottom of the sign-in screen. Fill in your Name, Email and a Password of at least 8 characters. Tick the box to agree to the Terms of Service and Privacy Policy, then tap Create account.
- Sign in with Google Under or continue with, tap Sign in with Google and pick your account from the system sheet. Nothing else to remember.
- Sign in with Apple (iOS) Tap Sign in with Apple, confirm with Face ID or Touch ID, then choose whether to share or hide your email address.
Use a real email address
Temporary and disposable email addresses are blocked at signup. You will need a working address for password resets and reminders. If you signed up with Google or Apple and later want an email password too, you can set one from Settings and then Change password.
Step 2: Choose your plan
New accounts land on the Subscribe screen before the dashboard. You will see Monthly, Quarterly and Yearly plans, with the yearly one tagged BEST VALUE. Prices show in your local billing currency, so there is nothing to convert.
Tap the plan you want, then tap Start your journey.
On Android the Razorpay checkout sheet opens and you can pay by UPI, card, netbanking or wallet. Wait on the "Processing payment" screen until it confirms. On iOS the standard Apple payment sheet opens and you confirm with Face ID or Touch ID. You will see Subscription activated and land on the home screen.
Two things worth knowing. Restore purchases on iOS brings your plan back after a reinstall or on a new device. And settings, profile, notifications and this pricing screen stay reachable even if a subscription lapses, so you never get locked out of your own account.
Step 3: Set your currency and formats
Do this before you enter any data. It takes 60 seconds and it decides how every amount and date looks from now on.
- Open the settings Tap More in the bottom-right, then tap Display and currency.
- Pick your currency The symbol you choose is used everywhere in the app.
- Set your formats Choose your Date format, then Time format as 12-hour or 24-hour.
- Choose Indian digit grouping Under Amount format, pick Indian so amounts read as 1,23,456.78 instead of 1,234.56. This is the setting most people in India want and most apps get wrong.
- Set the first day of week Sunday or Monday. The calendar and your weekly totals follow it.
Changes apply instantly across the app. There is no save button to hunt for.
One currency, on purpose
Hisab Journey tracks all your money in the one currency you pick here. It shows the symbol and formats the number, but it does not convert between currencies or store exchange rates. Subscription billing currency is separate and handled automatically.
This screen also tells you whether the AI assistant is active on your account. If it says Active, powered by Gemini, features like importing a statement with AI and Ask Jivixa are ready for you.
Step 4: Add your accounts
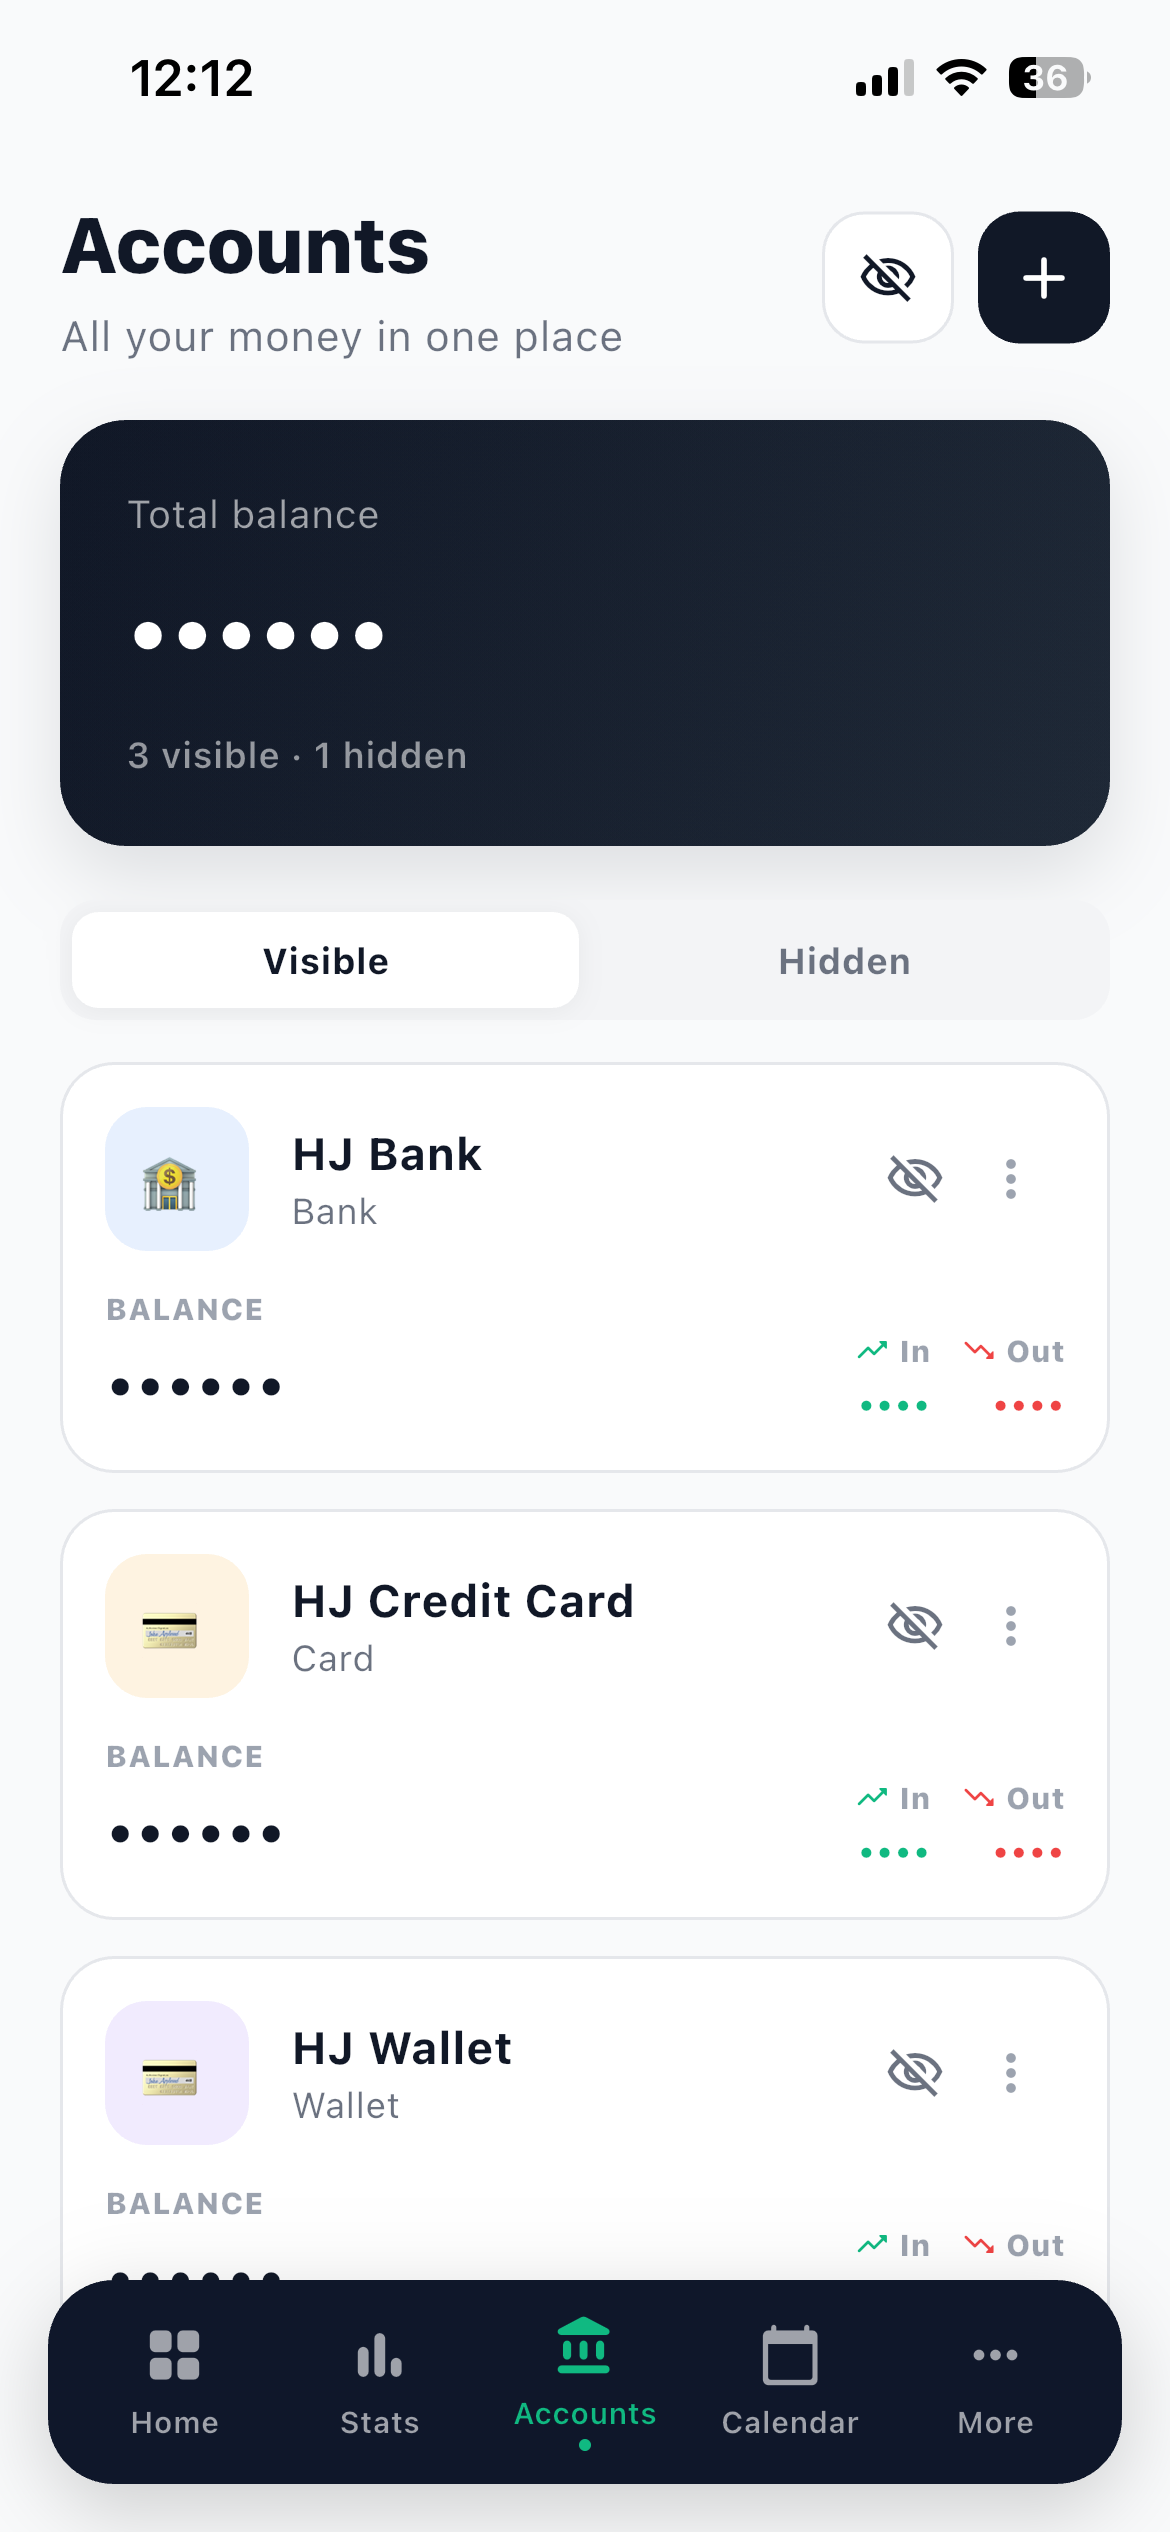
An account in Hisab Journey is any place your money sits. A bank account, a wallet, cash in your pocket, or a credit card. Every transaction attaches to one, which is how your balances stay right.
- Open the Accounts tab Tap Accounts at the bottom, then tap the + button.
- Name it the way you think of it Account name takes something like HDFC Bank, Cash, Paytm or ICICI Credit Card. This field is required.
- Pick the account type Choose Bank, Wallet, Cash, Card or Other.
- Make it recognisable Under ICON, tap Tap to change and pick one. The icon is how you spot the right account in a list at a glance.
- Enter the OPENING BALANCE Put in what is actually there right now, or 0 if you are starting fresh. DESCRIPTION (OPTIONAL) is a good place for the last four digits.
- Save it Tap Create account and repeat for the rest.
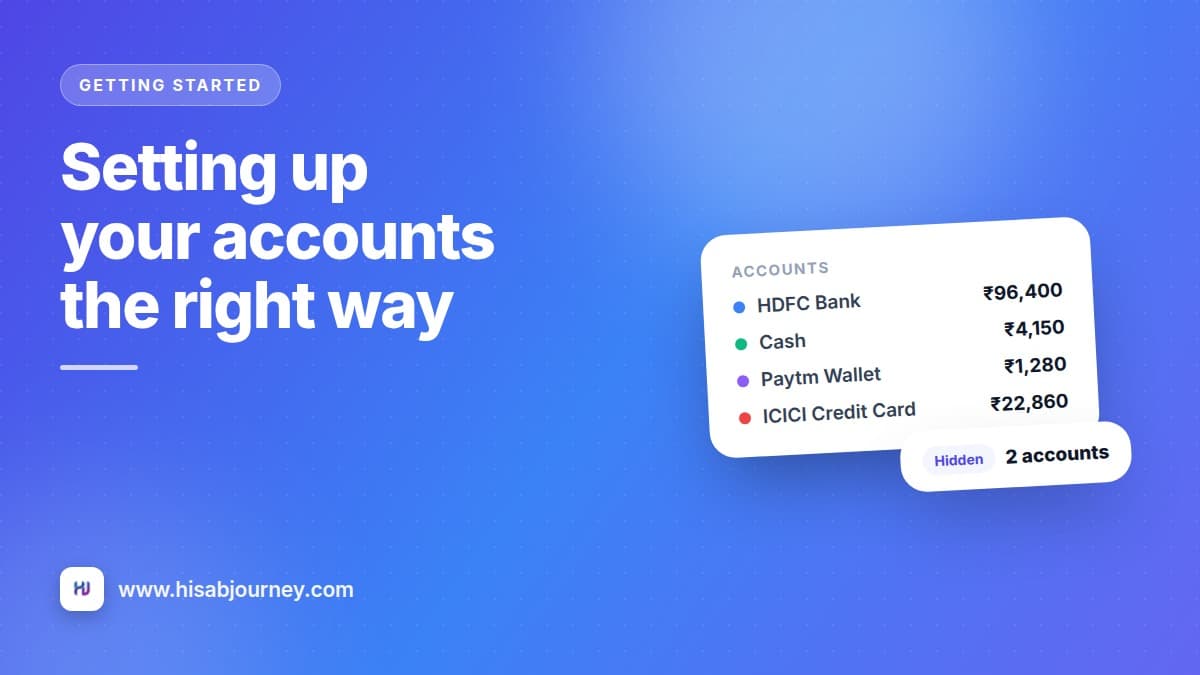
Most people are covered by four accounts: one Bank account per bank you actually use, one Cash account, one Wallet for your UPI and wallet balance, and one Card per credit card. Start with the ones you spend from daily and add more later. There is a longer walkthrough in setting up your accounts the right way.
Step 5: Set up categories and budgets
Categories are how your spending gets grouped in every chart and report. Go to More and then Categories. The app can start you off with a default set, or you can build your own. Switch between the Expense and Income lists at the top.
To create one, tap + and fill in the New category form: the TYPE, a NAME such as Groceries, Fuel, Rent or Salary, an ICON the app suggests from the name, and an optional BUDGET with the period it resets on. Tap Create category.
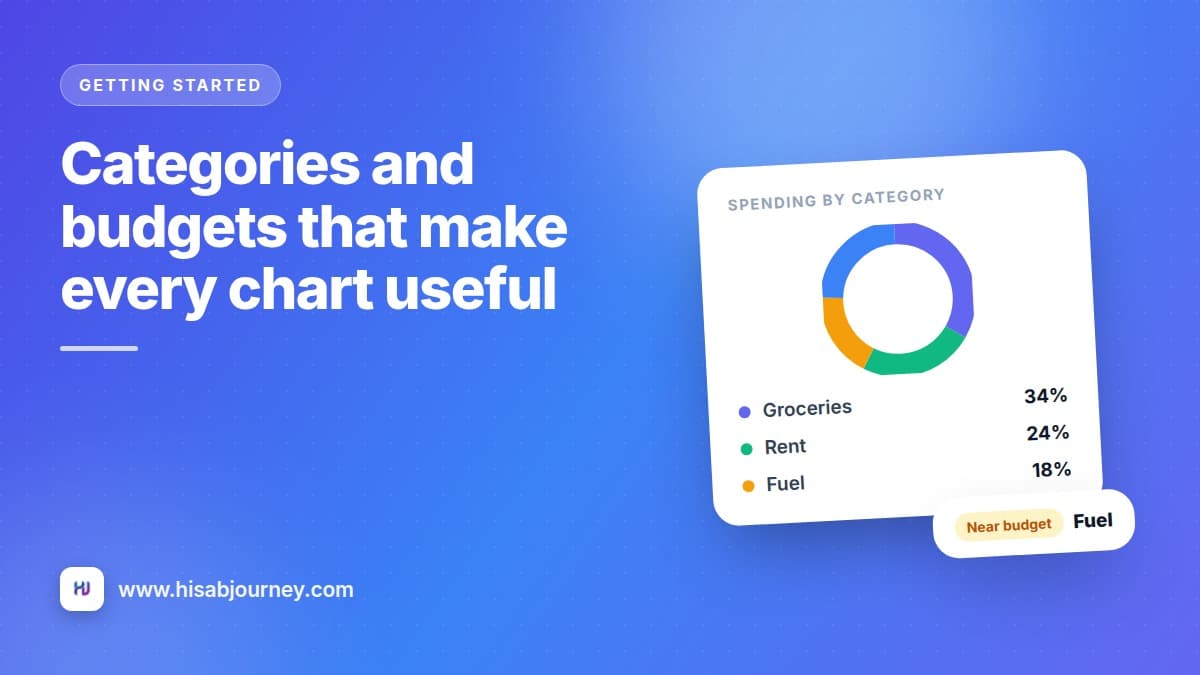
Keep the list short. Ten to fifteen categories you actually use beats forty you have to scroll through, and the donut chart on the Stats screen stays readable.
A budget is worth setting on your three or four biggest categories, because once a category has one, the app can show a budget alert card on the home screen as you approach the limit, warn you in HJ Insights when a category is near or over budget, and give Ask Jivixa something concrete to advise against. Categories and budgets goes deeper on choosing a set you will keep.
Reorder for speed
Press and hold a category and drag it up the list. Put your five most-used categories at the top and the transaction form gets noticeably faster to fill in.
Step 6: Log your first transaction
This is the habit everything else rests on.
- Tap the floating + button From the Home tab, tap +, then pick Expense, Income or Transfer at the top.
- Enter the AMOUNT Tap the calculator icon if you need to add several items together, say 240 plus 85 plus 1,200, without leaving the form.
- Choose CATEGORY and ACCOUNT Tap CATEGORY and pick from the sheet, or tap Create new category if it does not exist yet. Then choose the ACCOUNT the money came from. For a Transfer you get FROM and TO pickers instead, and no category.
- Add the details that help later The date and time default to now. DESCRIPTION (OPTIONAL) suggests descriptions you have used before and can guess the category from what you type. You can attach a bill from Gallery, Camera or Document up to 2 MB, and add NOTES (OPTIONAL).
- Save transaction Tap Save transaction. It appears in Recent activity straight away and your balance updates.
Not sure whether something is an expense or a transfer? Moving money to your wallet or paying a credit card bill is a Transfer, not spending. Expense, income, or transfer explains why that distinction protects your charts.
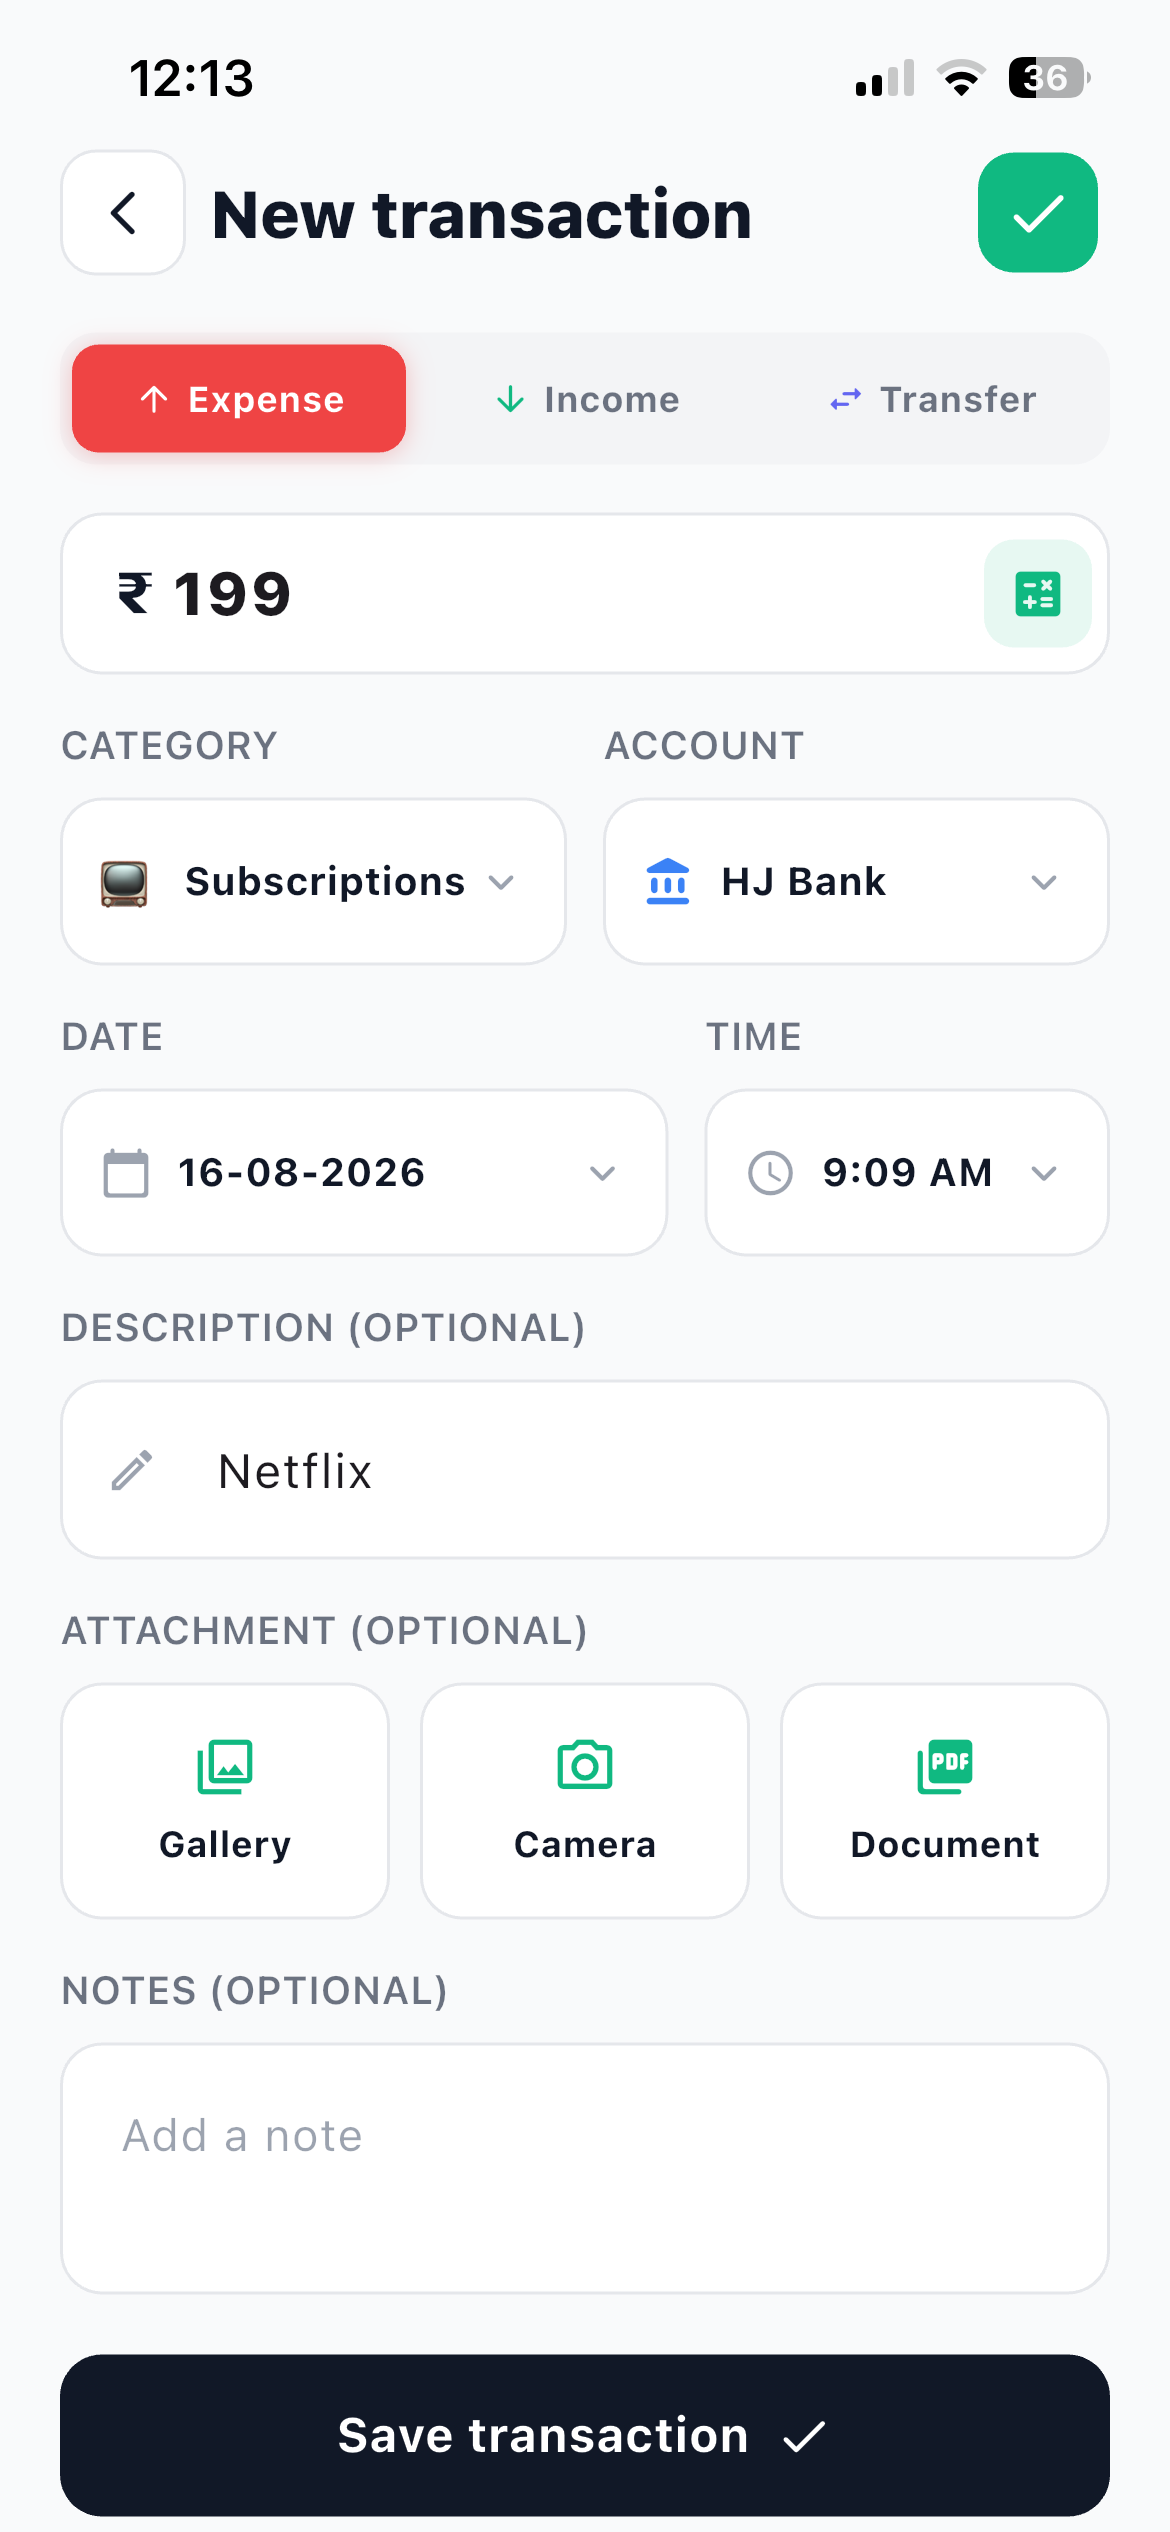
The three optional fields at the bottom are worth thirty seconds. A description makes the entry findable months later, an attachment keeps the bill with the expense, and a note tells you why you spent it.
Step 7: Three finishing touches
Each of these takes about two minutes and each one is worth it.
Turn on App Lock. Go to More, then Settings, then App Lock. Choose a 4-digit passcode and Confirm passcode. From then on the app asks for it every time you open it. If you forget it, tap Login with password on the lock screen and verify with your account password.
Set a daily reminder. In More and then Settings, turn on Daily reminder so you get a nudge to log the day's spending. Allow notifications when your phone asks.
Add the home screen widget. Long-press your home screen, find Hisab Journey, and pick HJ Quick Add, HJ Expense or HJ Expense+. All three show today's total spending and add a transaction in one tap, and they work offline.
What your home screen tells you now
Open the Home tab and read it top to bottom.
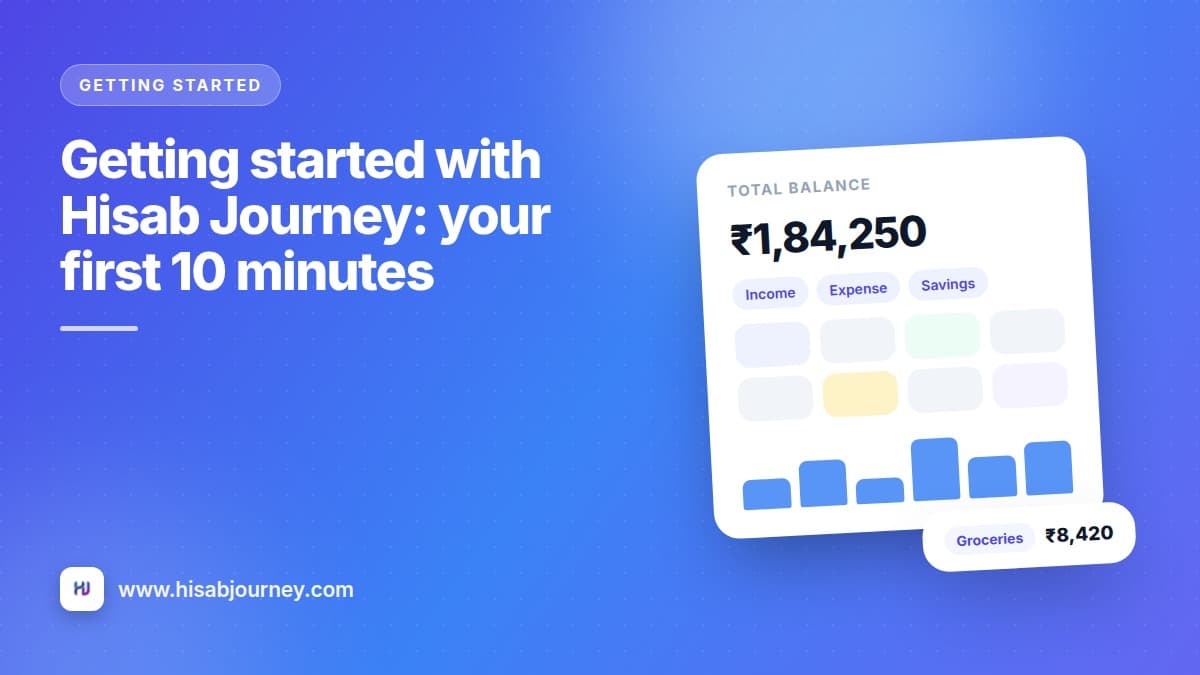
The top bar greets you by name, with shortcuts to settings, the AI assistant and your notifications. Under it, the balance card shows your total across all accounts, with income and expense beside each other. Swipe sideways to flick through individual accounts, and use Show to reveal or hide every number when someone is looking over your shoulder.
Then come eight quick links in two rows: Txns, Repeat, Lent, Debts on the first, and Bills, Jivixa, Insights, Trend on the second. That grid is the fastest route into every module in the app.
Spending sits below, with an Expense and Income toggle. Expense by Category lists where the money went this month, each row showing how many transactions made it up, and a progress bar against the budget where you have set one. Scroll on for your trend chart and recent activity.
The bottom navigation is Home, Stats, Accounts, Calendar and More, with the floating + on Home. Pull down anywhere on Home to refresh and sync.
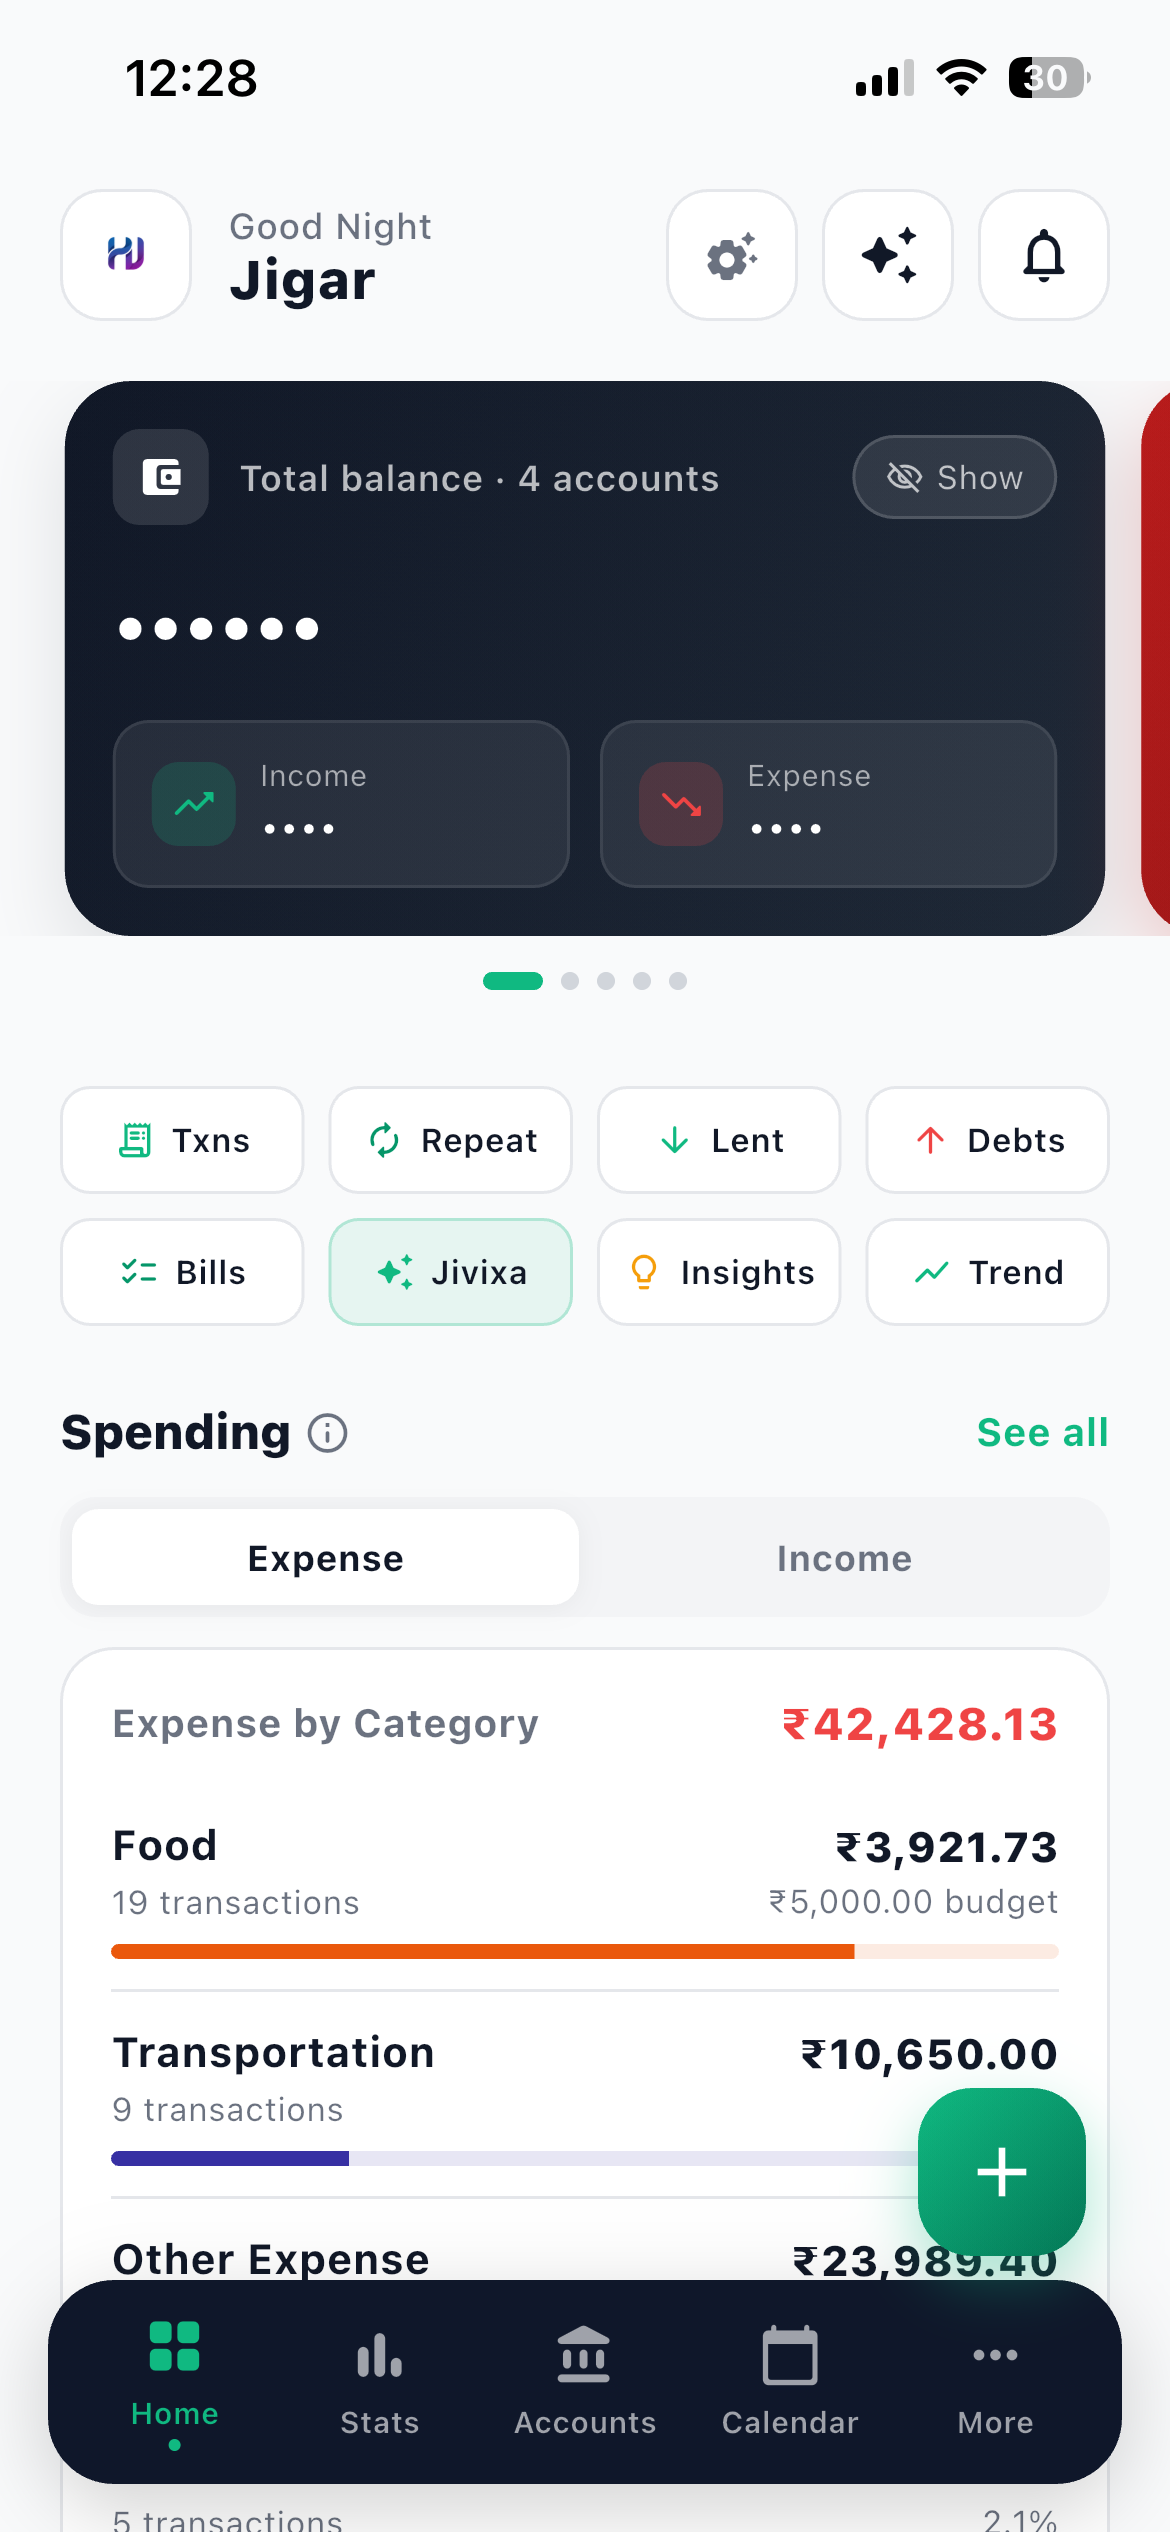
Right now most of those cards are empty. Log every expense the same day for a week and they fill up on their own.
Questions people ask on day one
Frequently asked questions
Do I need internet to use the app?
Not for daily tracking. You can add and edit transactions, accounts, categories, contacts, recurring entries and checklist items completely offline, and everything syncs automatically when you reconnect. Only a few features such as Insights, Ask Jivixa, notifications and receivable or debt changes need a live connection.
Can I track more than one currency?
Tracking is single currency. You pick yours in Display and currency, and the app shows that symbol and formats amounts to match, but it does not convert between currencies.
What if the app balance does not match my bank?
Open the account and tap Reset Account Balance. The dialog shows your Current Balance, the Adjustment it will make and the New Balance. Enter your real figure and tap Reset Balance. This one needs an internet connection because it creates a correcting entry.
I switched phones. Will my data come across?
Yes. Sign in with the same method you used before and your data downloads from your account.
How many categories should I create?
Start with ten to fifteen that match how you actually spend, and add more only when you find yourself hesitating over where an expense belongs. Fewer categories keep the donut chart and your reports readable.
What to do next
For the next seven days, log every expense the same day it happens. That is the whole assignment. Once you have a week of real data, your Stats screen and your Insights cards start saying something useful.
After that, come back and set up your accounts properly, categories and budgets, and let the app import your last bank statement with AI so your history is filled in too.