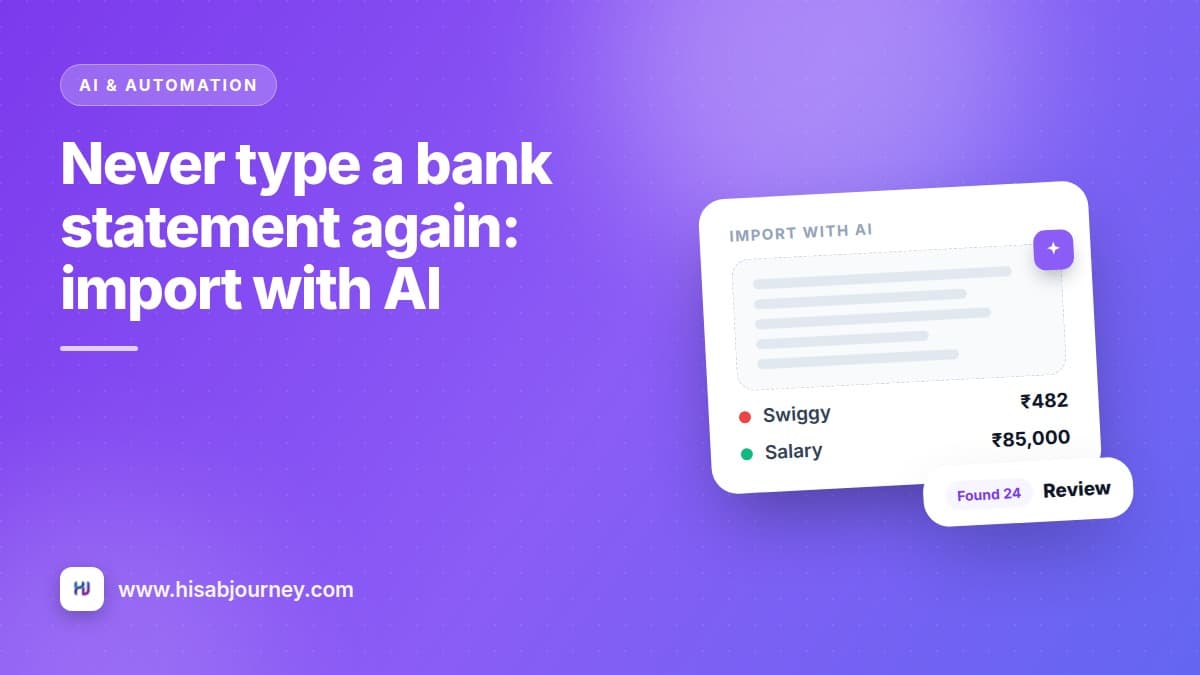
You downloaded the app in the middle of the month, and now there are three weeks of transactions sitting in a bank statement that you are supposed to type in by hand. Most people never do it. They start from zero and lose the context.
You do not have to. Hand the statement to the app and let it read.
Key takeaways
- Import from a photo of a passbook or receipt, or from a PDF, CSV or text statement.
- Excel files are not supported yet, so export as PDF or CSV first.
- The Review transactions screen is not optional. Check it before you tap Add.
- Categories are matched against your own category list, so set those up first.
- Every imported row becomes a normal transaction you can edit or delete later.
What this feature does
Instead of parsing the file itself, Hisab Journey sends it to Jivixa, the built-in assistant, which reads it and returns a list of transactions. You then review that list, correct anything that looks off, untick what you do not want, and add the rest in one tap.
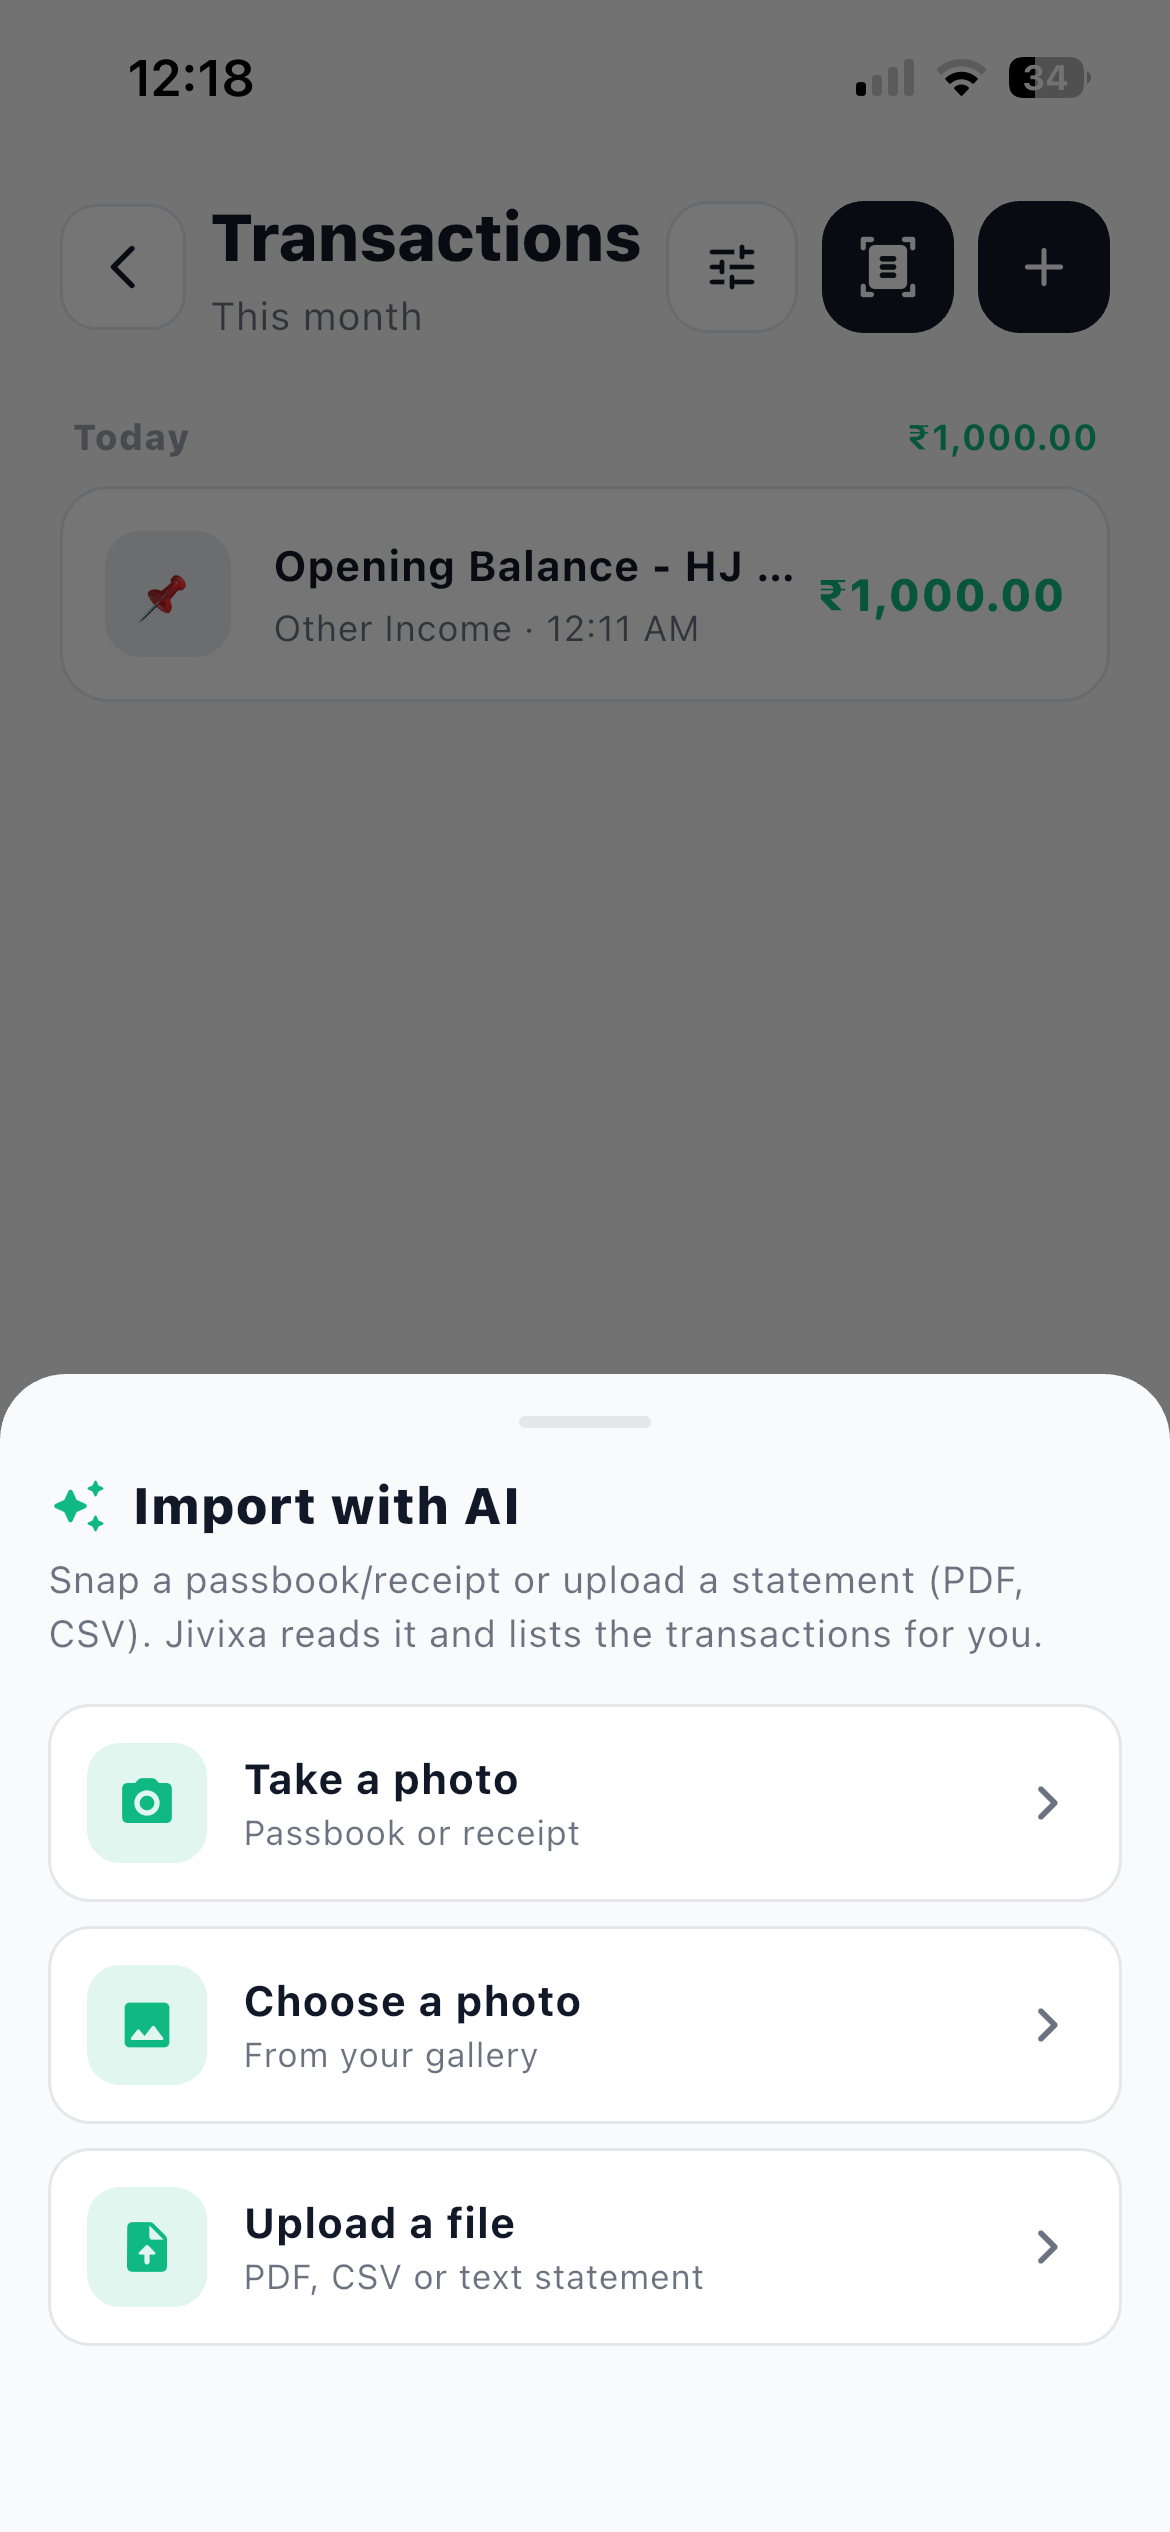
The sheet describes it in the app like this: snap a passbook or receipt, or upload a statement as PDF or CSV, and Jivixa reads it and lists the transactions for you.
Before you start: set up your categories
The assistant matches what it reads against your own category list. If your categories are still empty, everything comes back generic and you spend the time you saved fixing rows.
Ten minutes on categories and budgets first, then import. That order makes the difference between a clean import and a messy one.
Export as PDF or CSV, not Excel
Excel files are not supported yet. Almost every bank lets you download a statement as PDF or CSV from netbanking, so pick one of those. A CSV usually gives the cleanest result because the columns are already separated.
The import, step by step
- Open the transactions list Go to More and then Transactions. You can also get there from Txns on the home screen.
- Tap the AI import icon It sits in the header of the transactions screen.
- Pick your source The Import with AI sheet gives you three options: Take a photo for a passbook or receipt, Choose a photo from your gallery, or Upload a file for a PDF, CSV or text statement.
- Wait while it reads You will see the status change from Uploading your file to Reading your file and then Extracting transactions. The app tells you this can take a few seconds, and it means it.
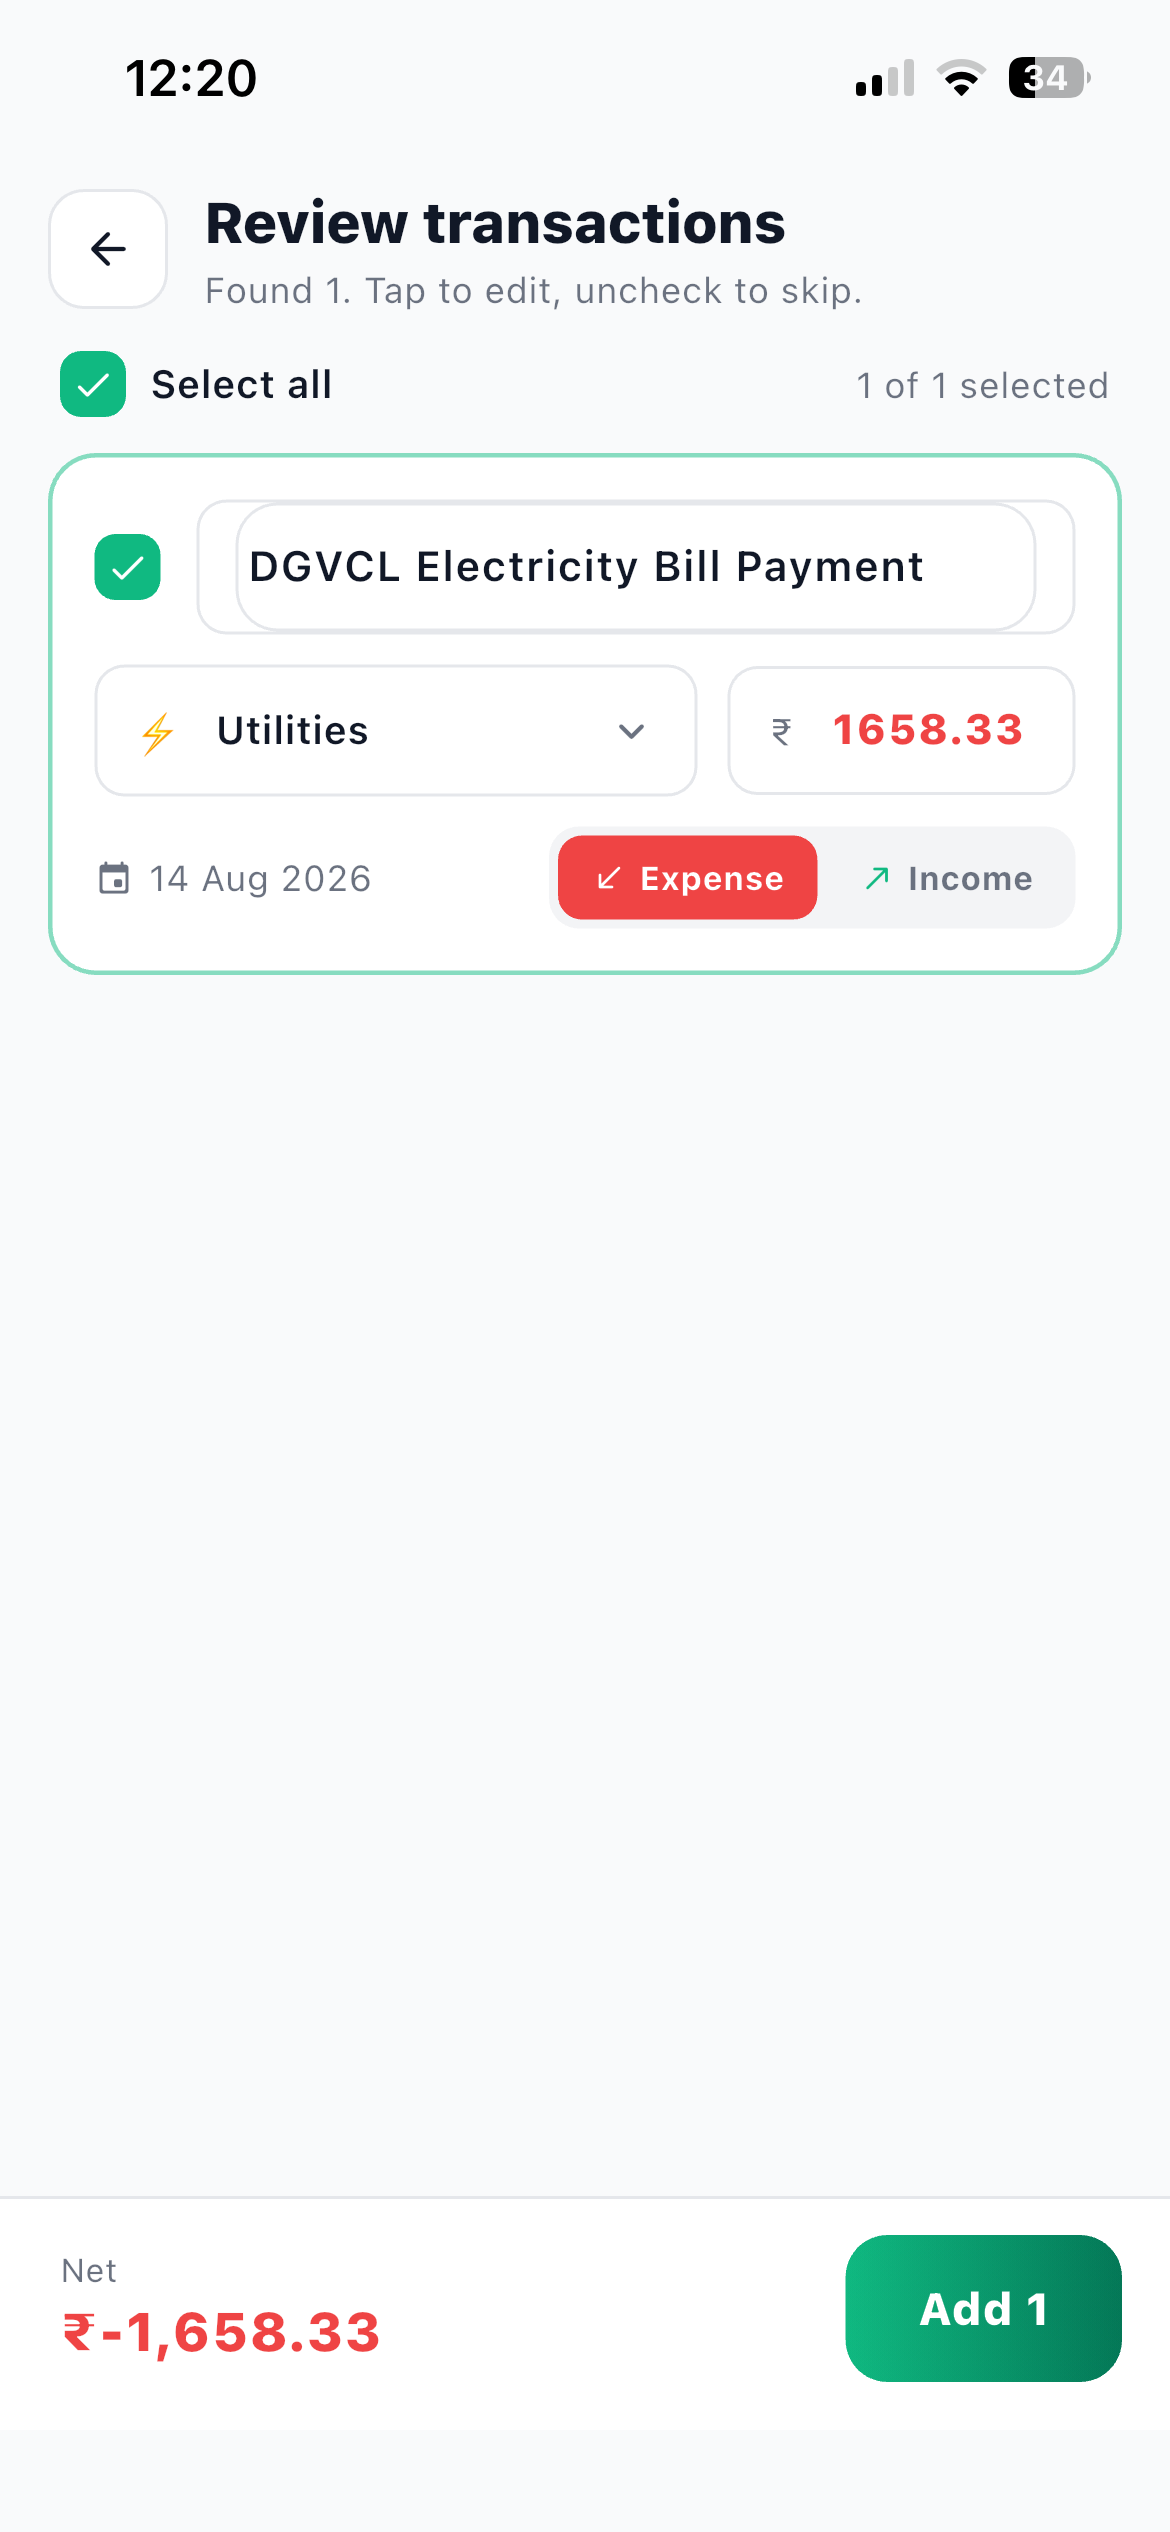
- Review what it found The Review transactions screen appears with a count, for example "Found 24. Tap to edit, uncheck to skip."
- Tap Add The button carries the live count, so it reads Add 24 and changes as you tick and untick. You get a confirmation and the transactions appear in your list.
The review screen is the point
It is tempting to treat the review screen as a formality. Do not. It is the difference between a tidy set of books and three months of quietly wrong numbers.
On this screen you can tap a row to correct the description, amount, type (Expense or Income) or category. You can untick anything you do not want, and Select all toggles everything at once.
Four things are worth unticking almost every time:
Duplicates. If part of this period is already in the app, those rows will come through again.
Transfers. Your statement shows a credit card payment or a wallet top-up as a debit. It is not spending. Untick it here and add it later as a transfer, as explained in expense, income, or transfer.
Opening balances. A statement's opening balance line is not a transaction.
Bank charges you are about to dispute. Add them once they settle.
Fix it here, not later
Editing a row on the review screen takes a second. Hunting for the same row three weeks later in a list of two hundred transactions takes a lot longer. The assistant is good, not infallible, and this screen is where that difference gets handled.
Getting a clean read from a photo
If you are photographing a passbook or a printed statement rather than uploading a file, the input decides the output.
Shoot in good light, ideally daylight, with the page flat. Keep the whole page in frame and square to the camera rather than at an angle. Avoid the shadow of your own phone falling across the page. If a page is dense, photograph it in two halves and import twice.
A clear, well-lit photo reads far better than a blurry one. That sounds obvious, and it is still the most common reason an import comes back thin.
What happens to the imported transactions
They become ordinary transactions. Nothing about them is special or locked. You can open any of them from the transactions list, edit the description, change the category, attach a receipt, or delete it.
They also flow into everything else immediately: your account balances, the donut on Stats, your monthly Trend, your budget alerts, and the numbers Ask Jivixa reads when you ask it a question.
A sensible first import
Start with last month only, not the last two years.
One month is enough to check the quality of the read and to give your charts something to work with, and it is small enough that reviewing every row is genuinely quick. If it goes well, do the month before that.
Questions about AI import
Frequently asked questions
The AI import missed or misread a row. What do I do?
Correct it on the Review transactions screen before tapping Add. Tap a row to edit the description, amount, type or category, or untick it to skip it. If a whole file fails, export it as PDF or CSV, since Excel is not supported, and try again with a clearer copy.
Which file types can I upload?
PDF, CSV and text statements, plus photos from your camera or gallery. Excel files are not supported yet.
Does it connect to my bank?
No. Hisab Journey never connects to a bank. You choose a file or take a photo, and the assistant reads only what you hand it.
Why are some categories wrong?
The assistant matches against your own category list, so a short or empty list gives it little to work with. Set your categories up first, then import.
Do AI features need an internet connection?
Yes. Importing with AI and Ask Jivixa both need internet, and the AI assistant needs to be active on your account. You can check that under More and then Display and currency, where it should say Active, powered by Gemini.
What to do next
Download last month's statement from your netbanking as a PDF or CSV, open More and then Transactions, and run one import. Review every row, then tap Add.
Once your history is in, ask the assistant what it makes of it. Meet Jivixa shows the kind of questions it can answer from your real transactions. And if you have not set the app up yet, start with your first ten minutes.